
The finish schedule: polished concrete in plain language and measurable values
A polished concrete finish is two choices, not one: how much stone you expose, and how much the surface shines. This is how we specify both, with the numbers a builder or architect can write into a schedule.
By Jeremy Thomason. Updated .
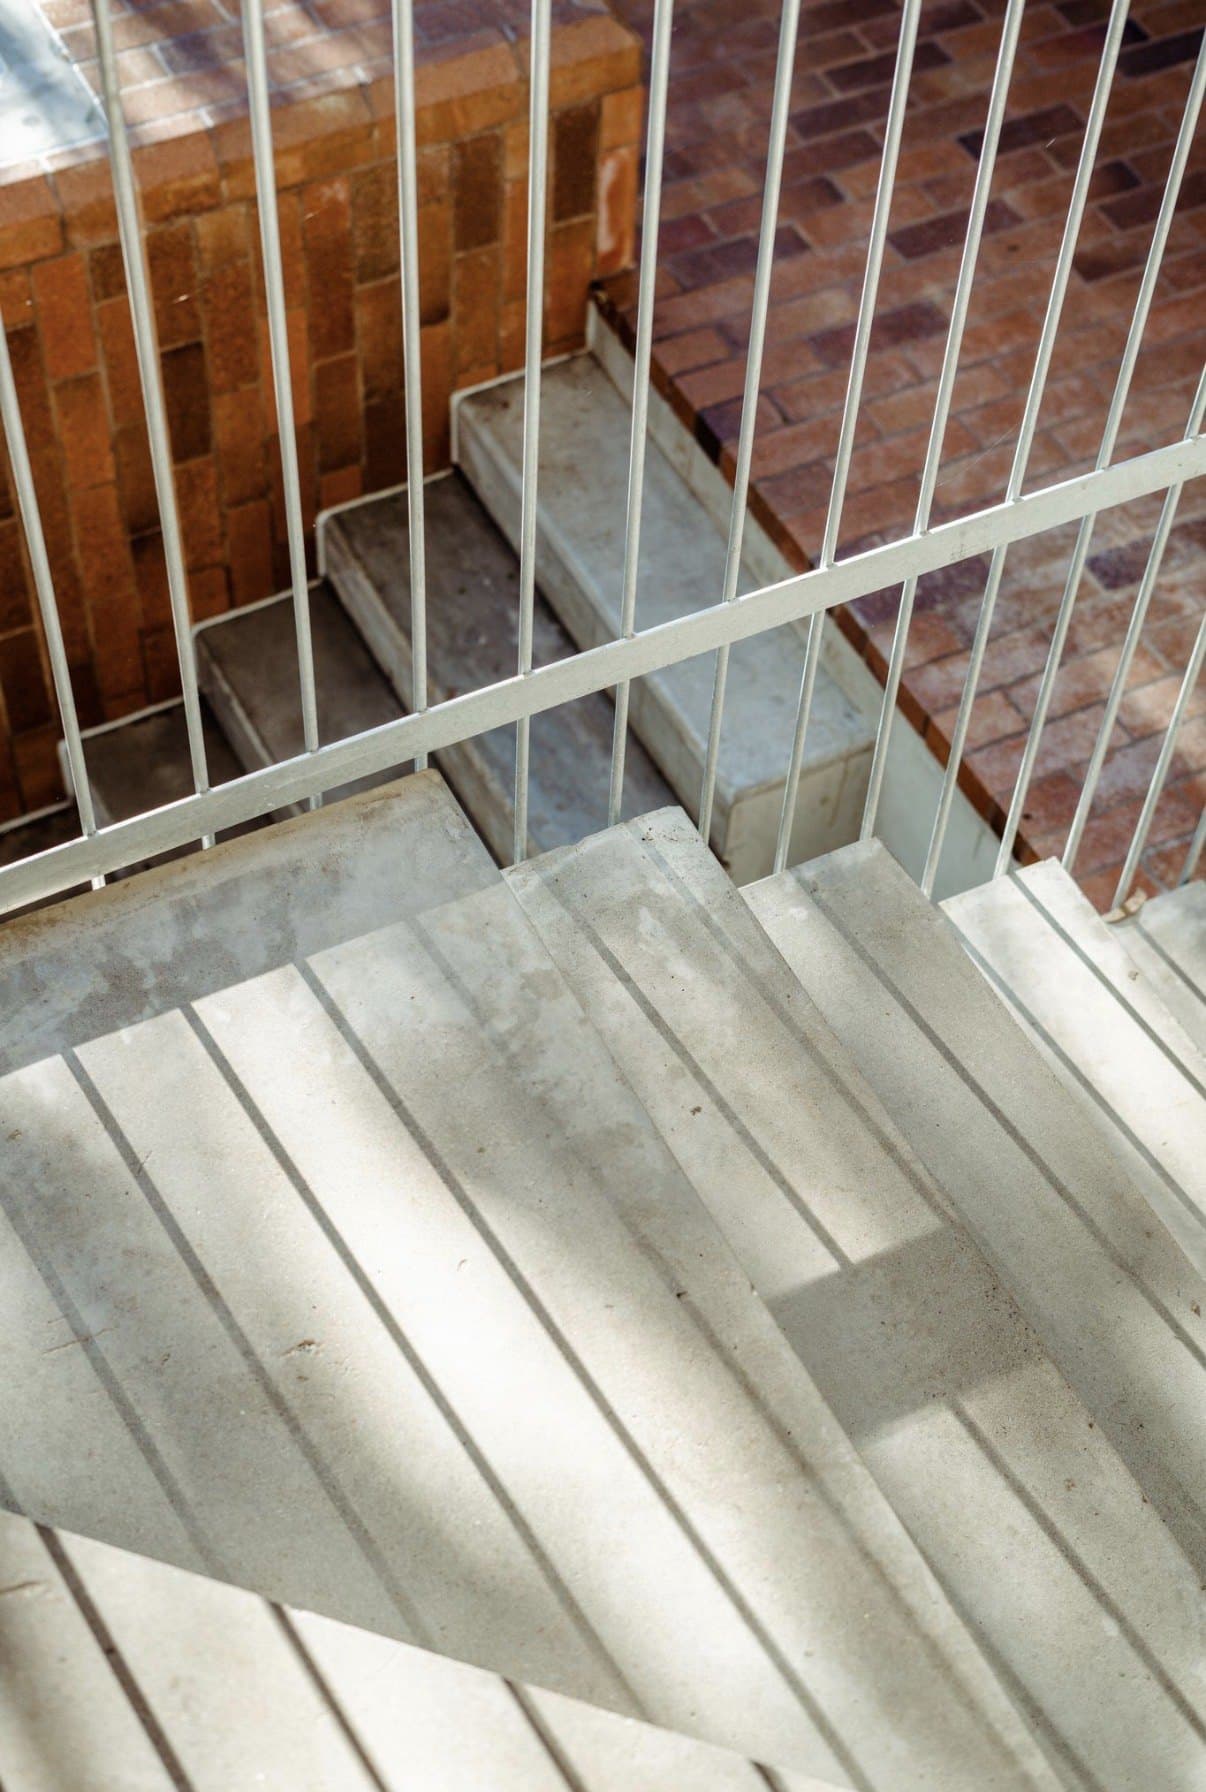
A polished concrete finish is two independent choices: how much stone you expose, and how much the surface shines. You can have full aggregate exposure at a low sheen, or no exposure at all at high gloss.
Grit number alone does not define a finish. A floor taken to 1500 grit with no stone showing and a floor taken to 1500 grit with full exposure are different products at different prices. We specify by exposure and gloss, and the grit sequence follows from them.
This is written for three readers at once: homeowners who want to know what the floor will look like, builders who need to know what the slab has to be and how much depth to allow, and architects who need values they can write into a schedule.
The four finishes
Grind and seal
The slab is ground back enough to flatten it and open the surface, then sealed with a coating that sits on top. The coating carries the gloss, not the concrete. It suits garages, workshops, laundries, external areas and older slabs that are not good enough to polish. The coating wears in traffic lanes and needs recoating every few years.
Honed and sealed
Ground through several grit steps to a flat, matte surface, hardened with a lithium densifier and sealed with a penetrating sealer. No reflection; whatever aggregate you chose is visible. The right choice for pool surrounds, patios, entries and driveways, and indoors where you want concrete to read as concrete. Matte hides scratches better than any other finish.
Polished to 800
The honed floor taken through resin steps to a satin sheen. Light reflects but objects do not mirror. The default for interior living areas. This is where slab flatness starts to show - undulations invisible at matte become visible as the sheen rises.
Polished to 1500
The full mechanical polish, burnished after sealing. A reflective surface where aggregate seems to sit under glass. Gloss is honest: it shows slab undulation, placement marks, trowel patterns and every footprint. It needs a good slab and a careful build, and it takes more passes than satin. Finer again, to 3000 grit, is available on request. If the slab was not poured with polishing in mind, we will tell you before you commit to it.
The schedule
| Finish | What you see | Grit sequence | Gloss (DOI) | Slab flatness |
|---|---|---|---|---|
| Grind and seal | Even sheen from a coating | 30-60 metal, 120 resin, coat | 40-70 | FF 25+ |
| Honed and sealed | Soft matte, no reflection | 30-60 metal, 120, 200, seal | 0-9 | FF 25-35 |
| Polished to 800 | Low, even lustre | Metal to 200, resin to 800 | 40-69 | FF 35-45 |
| Polished to 1500 | Reflective, stone under glass | Full sequence to 1500, burnish | 70-100 | FF 45+ |
- Gloss (DOI) is Distinctness of Image - how sharply the surface reflects. 0 is fully matte, 100 is a mirror. It can be measured with a gloss meter, so it can be written into a specification and tested on completion.
- Slab flatness is an FF number measured to ASTM E1155. Higher is flatter. The higher the gloss, the flatter the slab must be, because reflection reveals undulation that matte hides.
- Removal depth comes from the exposure you choose, not the gloss - see the next table.
The grit sequence is the normal path. The actual steps depend on slab hardness, aggregate and how the slab was finished. We adjust on site; the finish is specified by exposure and gloss, not the last grit number.
Aggregate exposure
Exposure is the second choice, made separately from gloss. It is decided by how deep we grind, which is decided by where the stone sits in your slab.
| Exposure | What you see | Removal depth | Notes |
|---|---|---|---|
| Nil | Smooth cement, no stone | 0.5-2 mm | The hardest to deliver reliably. Anything in the top of the slab stays: screed marks, boot prints, burnishing swirls. Needs a 40 MPa slab and a disciplined pour. |
| Minimal | A light scatter of stone | 2-3 mm | Often called salt and pepper. Forgiving, and the safest choice on a slab you did not pour yourself. |
| Full | Continuous stone across the floor | 5-6 mm | The most dramatic and the most dependent on the pour. Where concrete rolled away from a form, there will be bald spots. |
Exposure cannot be guaranteed. We control how deep we grind; we cannot control where the stone sits in a slab already poured. On a new slab we can tell your concreter what to do for an even result. On an existing slab, we show you the floor after the first pass, before going further. On full exposure the level is essentially set by that first pass - if the stone is not there, more grinding will not find it.
What varies, and what we guarantee
We guarantee our workmanship. Nobody can honestly guarantee what is inside a slab they did not pour. The following are characteristics of ground concrete, not defects.
Pitting and small holes
Concrete contains air. Grinding opens pockets that were always there, and they show as small holes - more of them at higher exposure. We fill what can be filled, using dust from your own floor so the colour matches as closely as possible. Some holes cannot be filled, and some fills are visible at the right angle. This is the most common surprise for people seeing their floor for the first time.
Slab variation and placement marks
Screed marks, trowel patterns, boot prints and light and dark patches are made when the slab is placed. At nil and minimal exposure they often survive the grind. If the concreter used recycled water, expect brown discolouration. Trade staining that has soaked in deeply may not grind out.
Cracks and crazing
Concrete cracks. Fine crazing and shrinkage cracks are aesthetic, not structural. We repair larger cracks with a compound that will not match the surrounding concrete exactly; extensive repairs are quoted separately.
Edges and corners
Hand tools reach to within 3-6 mm of a finished edge, less in internal corners. There will be a narrow unground margin against walls and cabinetry, normally covered by skirting or caulking.
How to specify it
Write the finish as exposure plus gloss, with values from the schedule. For example:
Polished concrete floor: minimal aggregate exposure, satin gloss (DOI 40-69), nominal removal depth 3 mm. Slab to achieve FF 35 minimum measured within 72 hours of finishing. Refer Honed_By finish schedule.
Specify the slab one flatness step above the finish, because flatness drifts between the pour and the grind. If you need FF 35 at polishing, specify FF 45 at the pour.
The sample is the acceptance standard
The first step of the job is a sample area on your own slab, somewhere forgiving. We photograph it, number it, and you sign it off before we do the rest. That numbered sample, not a photograph of another project, is the agreed standard for the finished floor. If you need to see one before committing to the job, it can be quoted as a separate visit.
Before you commit
- Confirm set-downs and adjoining floor heights allow the removal depth.
- Confirm slab strength: 32 MPa minimum, 40 MPa for nil exposure.
- Tell your concreter the slab is for polishing before the pour, not after.
- On an existing slab, book an inspection. What is under the surface changes the scope and sometimes the price.